
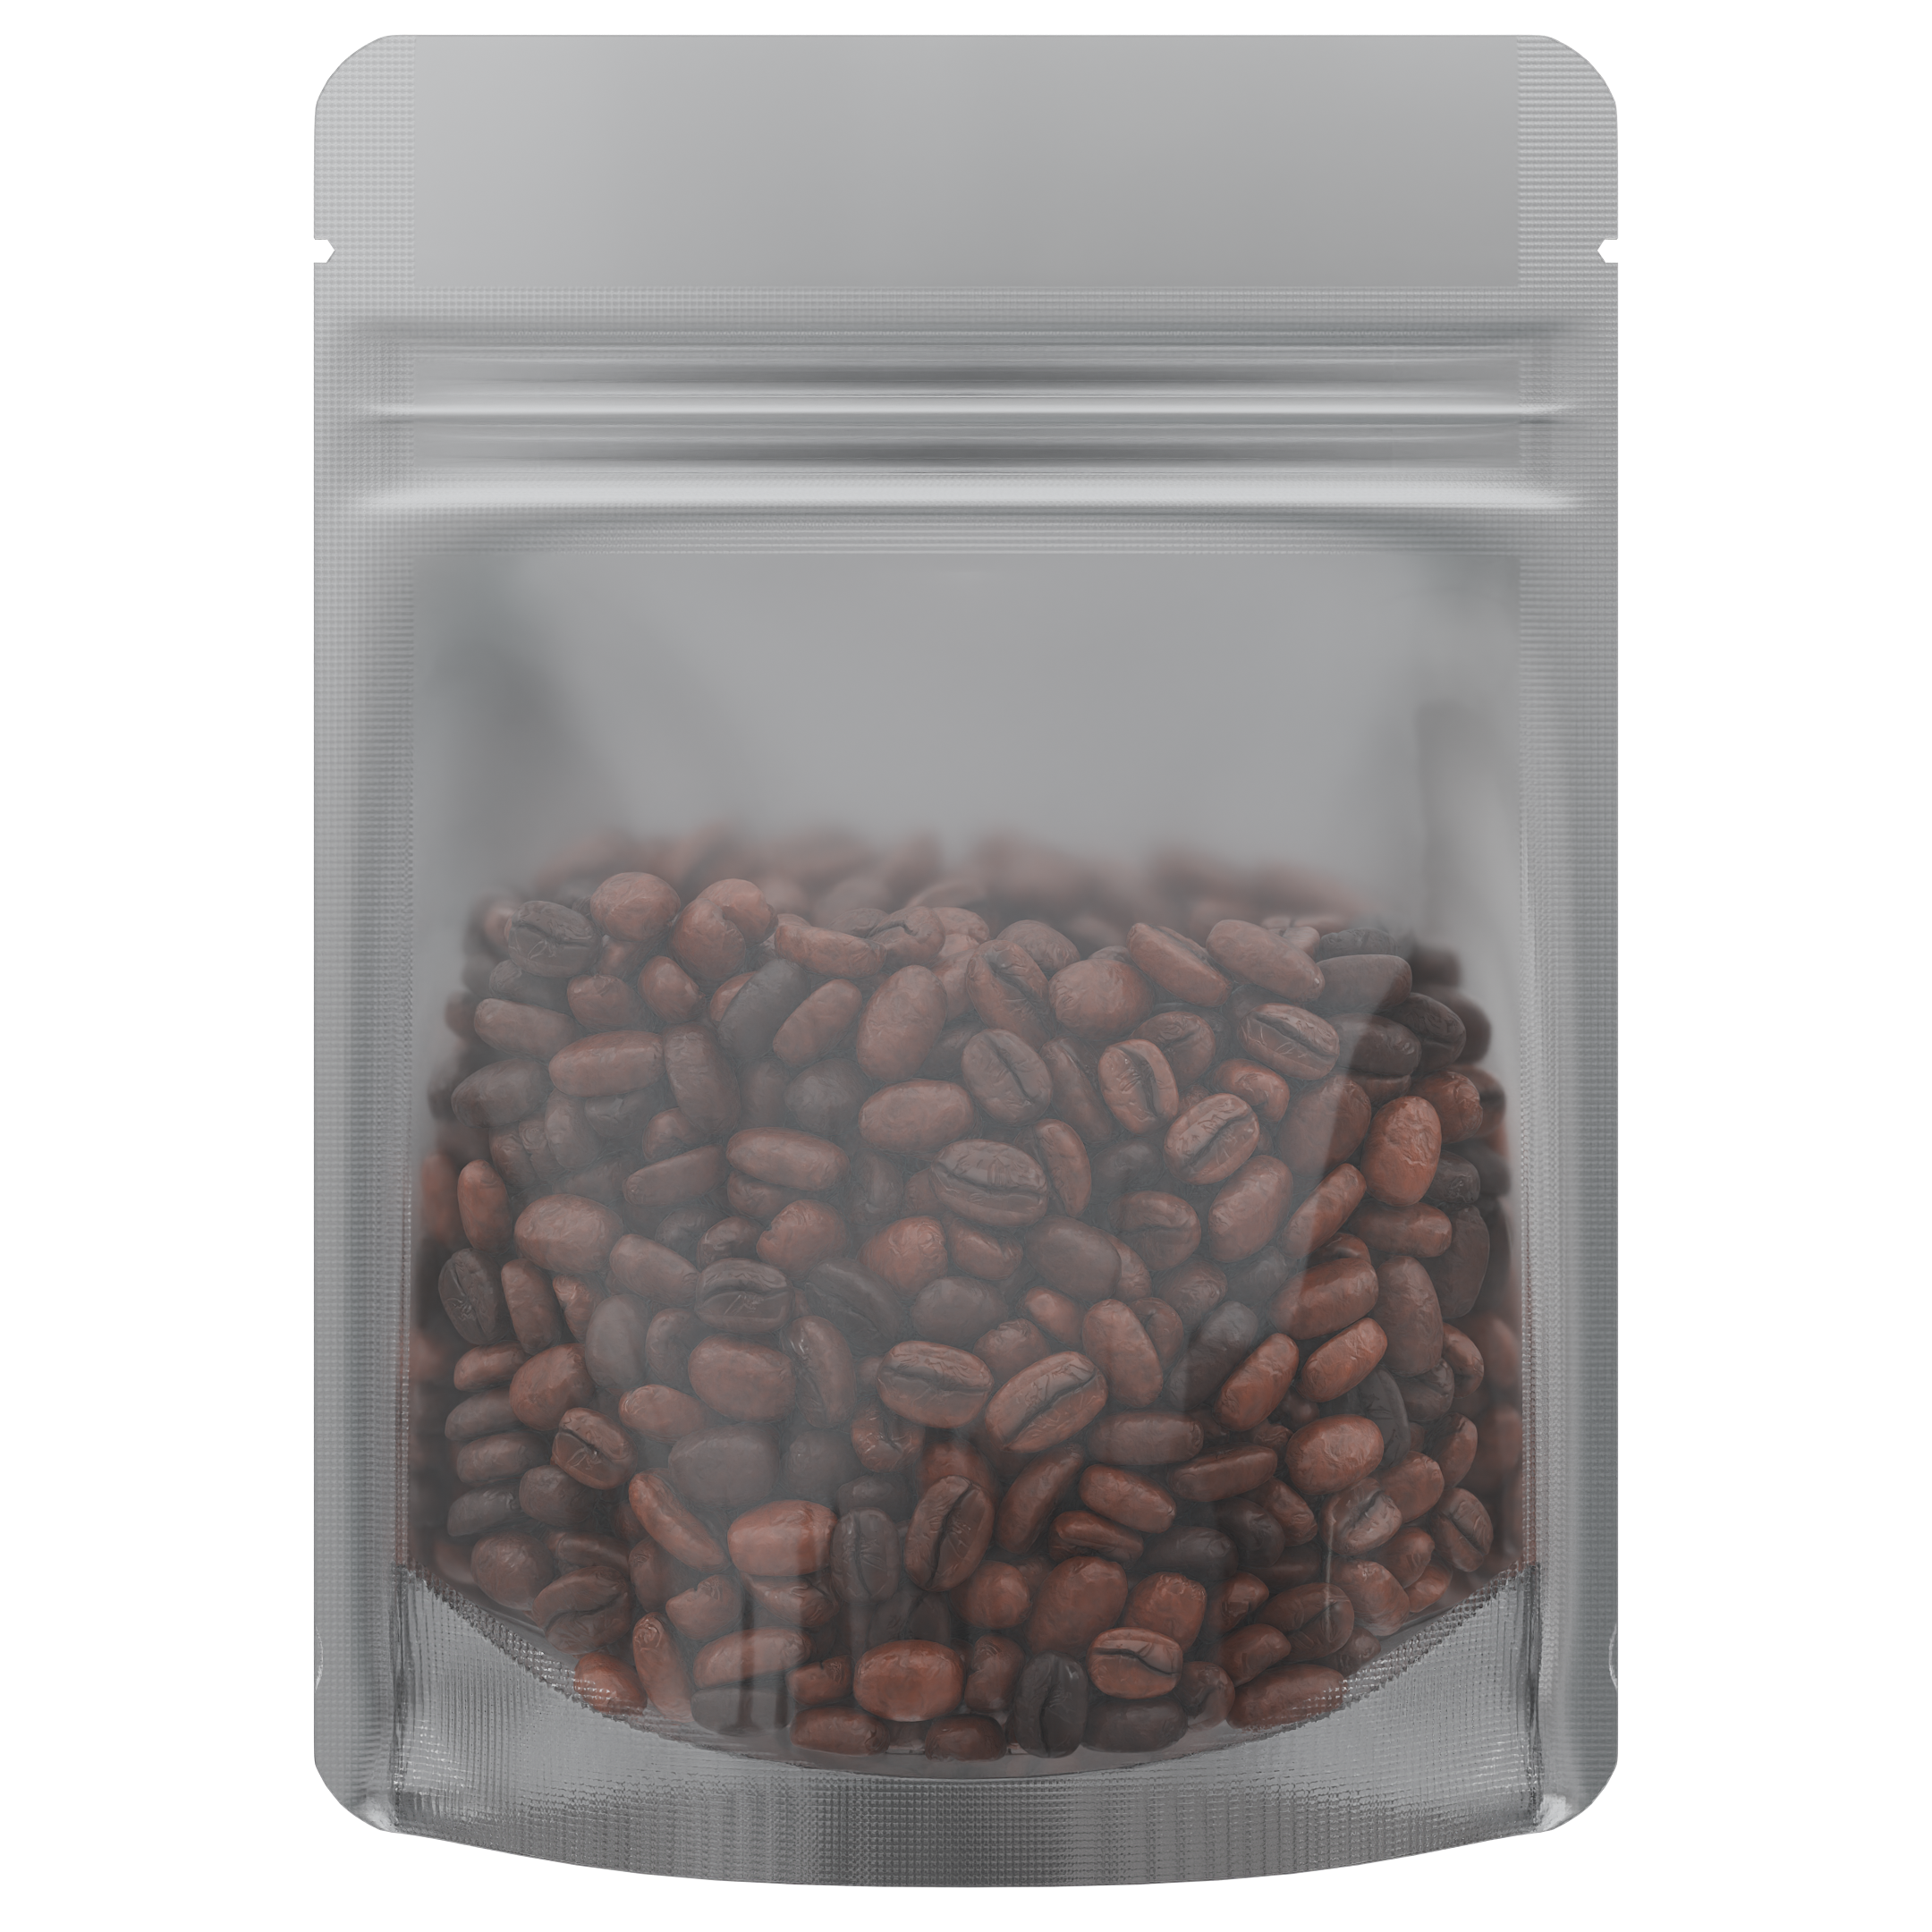
How to Heat Seal Mylar Bags for Cannabis — Step-by-Step Guide
Heat sealing a mylar bag creates a permanent, airtight, tamper-evident seal that keeps cannabis fresh and signals to customers that the product hasn't been opened. It's one of the most important steps in a professional cannabis packaging operation — and it's easier than most people think.
This guide covers everything: the equipment you need, the right technique, troubleshooting bad seals, and how heat sealing connects to tamper evidence compliance.
Why Heat Seal Mylar Bags?
A heat-sealed mylar bag offers three things a zipper or adhesive seal cannot:
- True airtight barrier — the heat fuses the inner layers of the mylar together, eliminating any gap through which oxygen or moisture can enter
- Tamper evidence — a heat seal cannot be re-closed after opening, giving customers visible proof the product is intact
- Odor containment — combined with the mylar barrier film, a proper heat seal creates a fully odor-proof package
In many regulated markets, tamper-evident packaging is a compliance requirement — not just a nice-to-have. Heat sealing is the most reliable and cost-effective way to achieve it on flexible mylar packaging.
What You Need
Equipment
- Impulse heat sealer (recommended) — the standard for production environments. Applies heat only when triggered, giving precise control. Available in 8", 12", 16", and 20" seal widths. Prices range from $30–$300 depending on size and quality.
- Continuous band sealer — for high-volume operations (100+ bags/hour). More expensive but significantly faster for production lines.
- Handheld heat sealer — portable, inexpensive (~$15–$40). Good for small batches or testing. Less consistent than bench-top impulse sealers.
- Hair straightener / flat iron (DIY only) — works in a pinch for very small quantities. Not recommended for production — inconsistent temperature and pressure lead to unreliable seals.
Materials
- Mylar bags (make sure they're heat-sealable — most cannabis mylar bags have a heat-sealable inner layer)
- Filled product — fill the bag before sealing
- Nitrogen flush kit (optional but recommended for premium products — displaces oxygen before sealing)
Step-by-Step: How to Heat Seal a Mylar Bag
Step 1: Fill the Bag
Fill the bag with your product, leaving at least 1–2 inches of headspace above the product line at the top of the bag. This open space is your seal zone — you need clean, empty bag material to fuse together. If product gets into the seal area, the seal will fail.
For flower: fill to about 80% capacity to allow the bag to lay flat when sealing.
Step 2: Remove Air (Optional but Recommended)
Squeeze excess air out of the bag before sealing. For premium products, use a vacuum sealer or nitrogen flush to displace oxygen — this extends shelf life significantly. For standard sealing without nitrogen:
- Hold the bag upright with the opening at the top.
- Gently press the sides of the bag from the bottom up toward the opening, pushing air out.
- Keep gentle pressure on the bag as you move to the sealer.
Step 3: Set the Sealer Temperature
Temperature varies by bag thickness and material. Starting points:
- Thin mylar (2–3 mil): setting 2–3 on most impulse sealers, or approximately 275–300°F
- Standard mylar (3.5–4 mil): setting 3–4, approximately 300–325°F
- Thick/foil mylar (5+ mil): setting 4–5, approximately 325–375°F
When in doubt, start lower and test on an empty bag. You can always increase — overheating will burn through the material and ruin the bag.
Step 4: Align the Bag in the Sealer
- Open the sealer jaw (the clamping bar) by lifting the handle or pressing the release.
- Place the top opening of the bag flat between the upper and lower jaws of the sealer.
- Make sure the bag is straight and centered — a crooked seal is weak and looks unprofessional.
- The seal should be placed at least ¼ inch below the very top edge of the bag opening (not right at the edge).
Step 5: Apply the Seal
For an impulse sealer:
- Press down firmly on the sealer arm to clamp the bag between the jaws.
- Trigger the heat element (on most models, pressing the arm fully down activates the element automatically).
- Hold for the full seal cycle — typically 1–3 seconds. Don't release early.
- After the heat cycle completes, continue holding the clamped position for an additional 2–3 seconds of cooling. This is critical — releasing while the seal is still hot will cause it to peel or wrinkle.
- Release the arm and remove the bag.
Step 6: Test the Seal
Before committing to a full production run, test your first seal:
- Visual check: The seal line should be uniform in color (slightly darker than the surrounding bag material), consistent in width, and show no gaps, bubbles, or wrinkles.
- Pressure test: Squeeze the sealed bag firmly — you should feel resistance, not air escaping. If air leaks out, the seal failed.
- Peel test: On a test/sacrificial bag, try to pull the sealed portion apart. A good seal should require significant force and leave material behind when it finally separates — not peel cleanly apart.
Troubleshooting Common Sealing Problems
Seal peels apart easily
Temperature is too low, seal time too short, or the bag material is contaminated (product residue in the seal zone). Increase temperature by one setting, extend hold time by one second, and make sure the seal area is clean before sealing.
Seal is burnt or has holes
Temperature is too high. Reduce by one setting and test again on a fresh bag. Burnt seals are structurally weak even if they look sealed.
Seal is wrinkled or uneven
The bag wasn't flat and centered when clamped, or the sealer element is worn. Re-align carefully and ensure the bag lays completely flat across the full width of the sealer jaw before clamping.
Seal looks fine but air still leaks
There may be a partial seal — the edge of the seal zone didn't fuse fully. Try sealing slightly further from the bag opening (more headspace in the seal zone) or apply a second seal pass directly adjacent to the first.
Heat Sealing and Tamper Evidence Compliance
Many cannabis regulators require "tamper-evident" packaging — meaning it must be obvious to the consumer if the package has been previously opened. A heat seal satisfies this requirement because it cannot be non-destructively reopened. Once broken, the seal is visibly compromised.
Some states specify tamper-evident packaging in their cannabis rules explicitly (California, Massachusetts, Michigan, and others). A heat-sealed mylar bag checks that box cleanly, especially when combined with a label that bridges the sealed area.
Pro tip: Apply your compliance label so it overlaps the heat seal line. This creates a double tamper-evident indicator — breaking the label and breaking the seal are both required to access the product, making tampering unmistakable.
Which Mylar Bags Heat Seal Best?
Most cannabis mylar bags are designed to be heat-sealable — they have a polyethylene (PE) or polypropylene (PP) inner layer that fuses under heat. Bags with a foil interior seal differently than clear or matte bags, but both work with standard impulse sealers.
Bags that are not designed for heat sealing (some zipper-only bags) will have a seal strip that resists fusing or will burn before sealing. When in doubt, check the product description or ask your supplier.
Dragon Chewer's mylar bag collection includes heat-sealable options across every size and finish — matte black, holographic, kraft, clear, and more. All are compatible with standard impulse heat sealers.
Frequently Asked Questions
Can I heat seal a mylar bag that already has a zipper?
Yes — seal above the zipper. Apply the heat seal to the area between the zipper and the top opening of the bag. This gives you a heat-sealed tamper-evident closure on top with the zipper still functional underneath for resealing after first open. Many cannabis brands do this for premium multi-use products.
Do I need a vacuum sealer or is heat sealing enough?
Heat sealing alone is effective for most cannabis products. Vacuum sealing (removing air before heat sealing) extends freshness significantly but requires additional equipment. For flower that will be sold within 30 days, heat sealing without vacuum is sufficient. For longer storage or premium products, vacuum + heat seal is the gold standard.
What temperature should I heat seal mylar bags?
Most standard cannabis mylar bags (3–4 mil) seal well at 300–325°F or setting 3–4 on an impulse sealer. Always test on a sacrificial bag before running production. Start low and increase — it's easier to adjust up than to recover from a burnt seal.
How long does a heat seal last?
A properly executed heat seal on quality mylar will last indefinitely under normal storage conditions. The seal should remain intact as long as the bag itself is intact. Seals can fail prematurely if they were made at incorrect temperature, if the seal area was contaminated, or if the bag is stored in extreme temperature cycling conditions.